Welcome to Frigid.Cloud.
Start managing your brewery from the cloud by following the steps below.
If you require an online training session or have any questions about particular features, please book a time.

Dashboard overview.
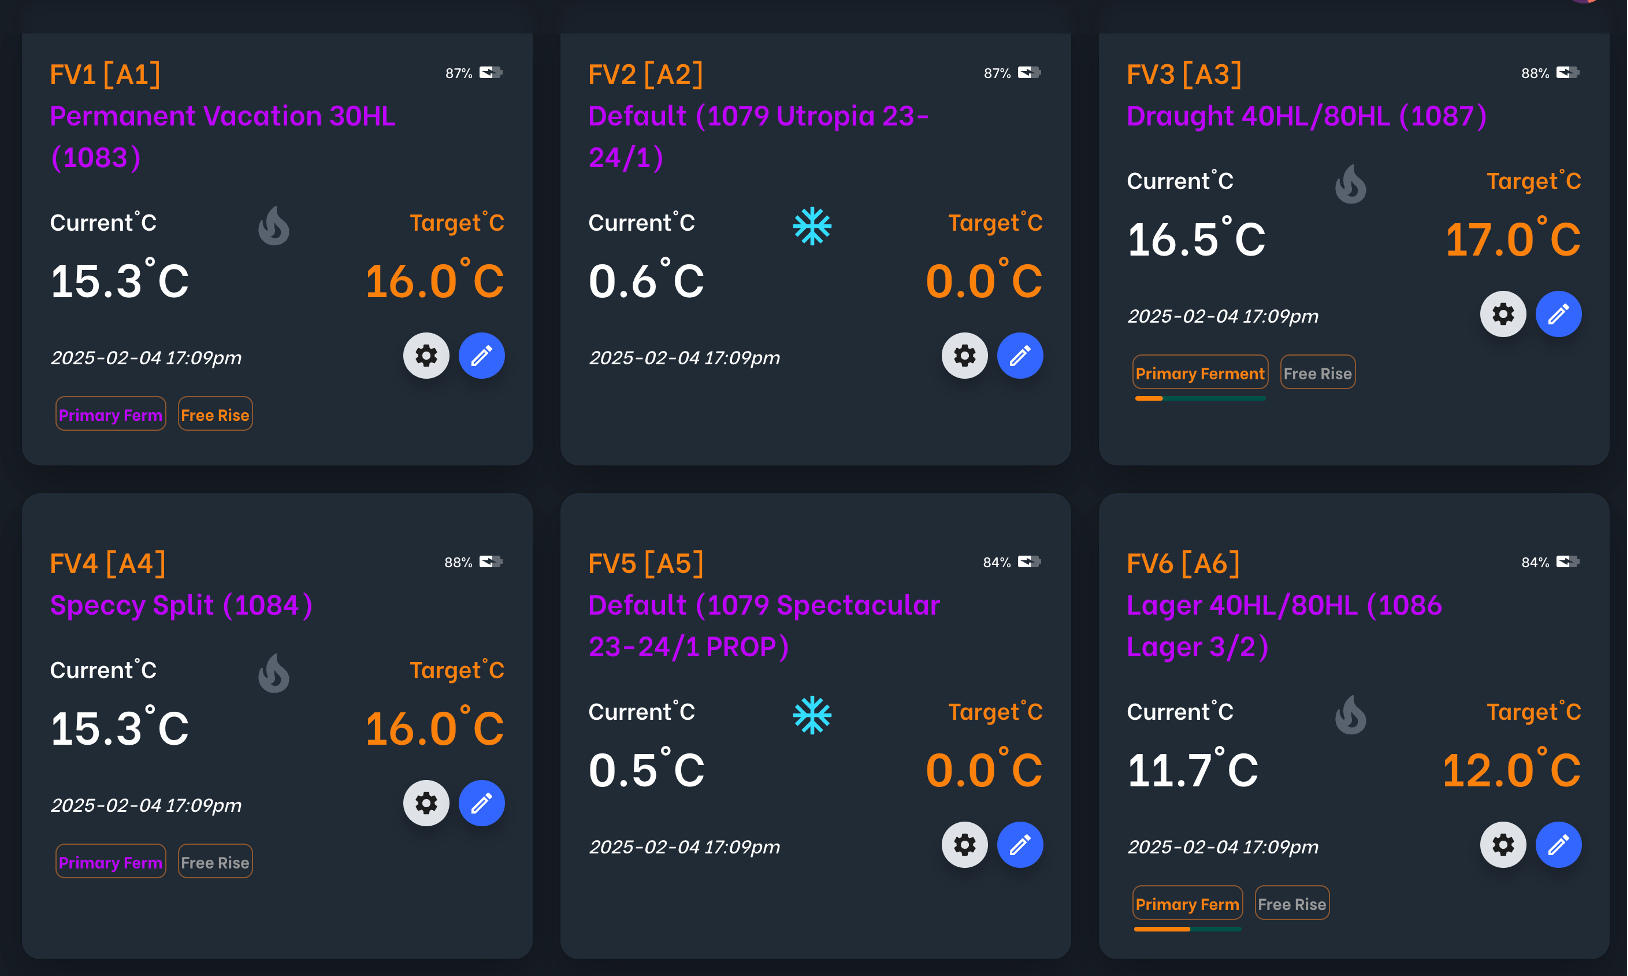
Each card on the dashboard represents a fermenter, brite or utility tank, or a chiller.
The dashboard allows you to get a quick overview on the current temperatures, setpoints and stages of your tanks.
Tapping the blue edit icon will bring up the tank management dialog. If a tank is inactive it will have a dark colour scheme. In this case the blue edit icon will allow you to start a new brew/ferment.
Tapping the white settings icon will bring up the tank settings dialog.
Tank management.
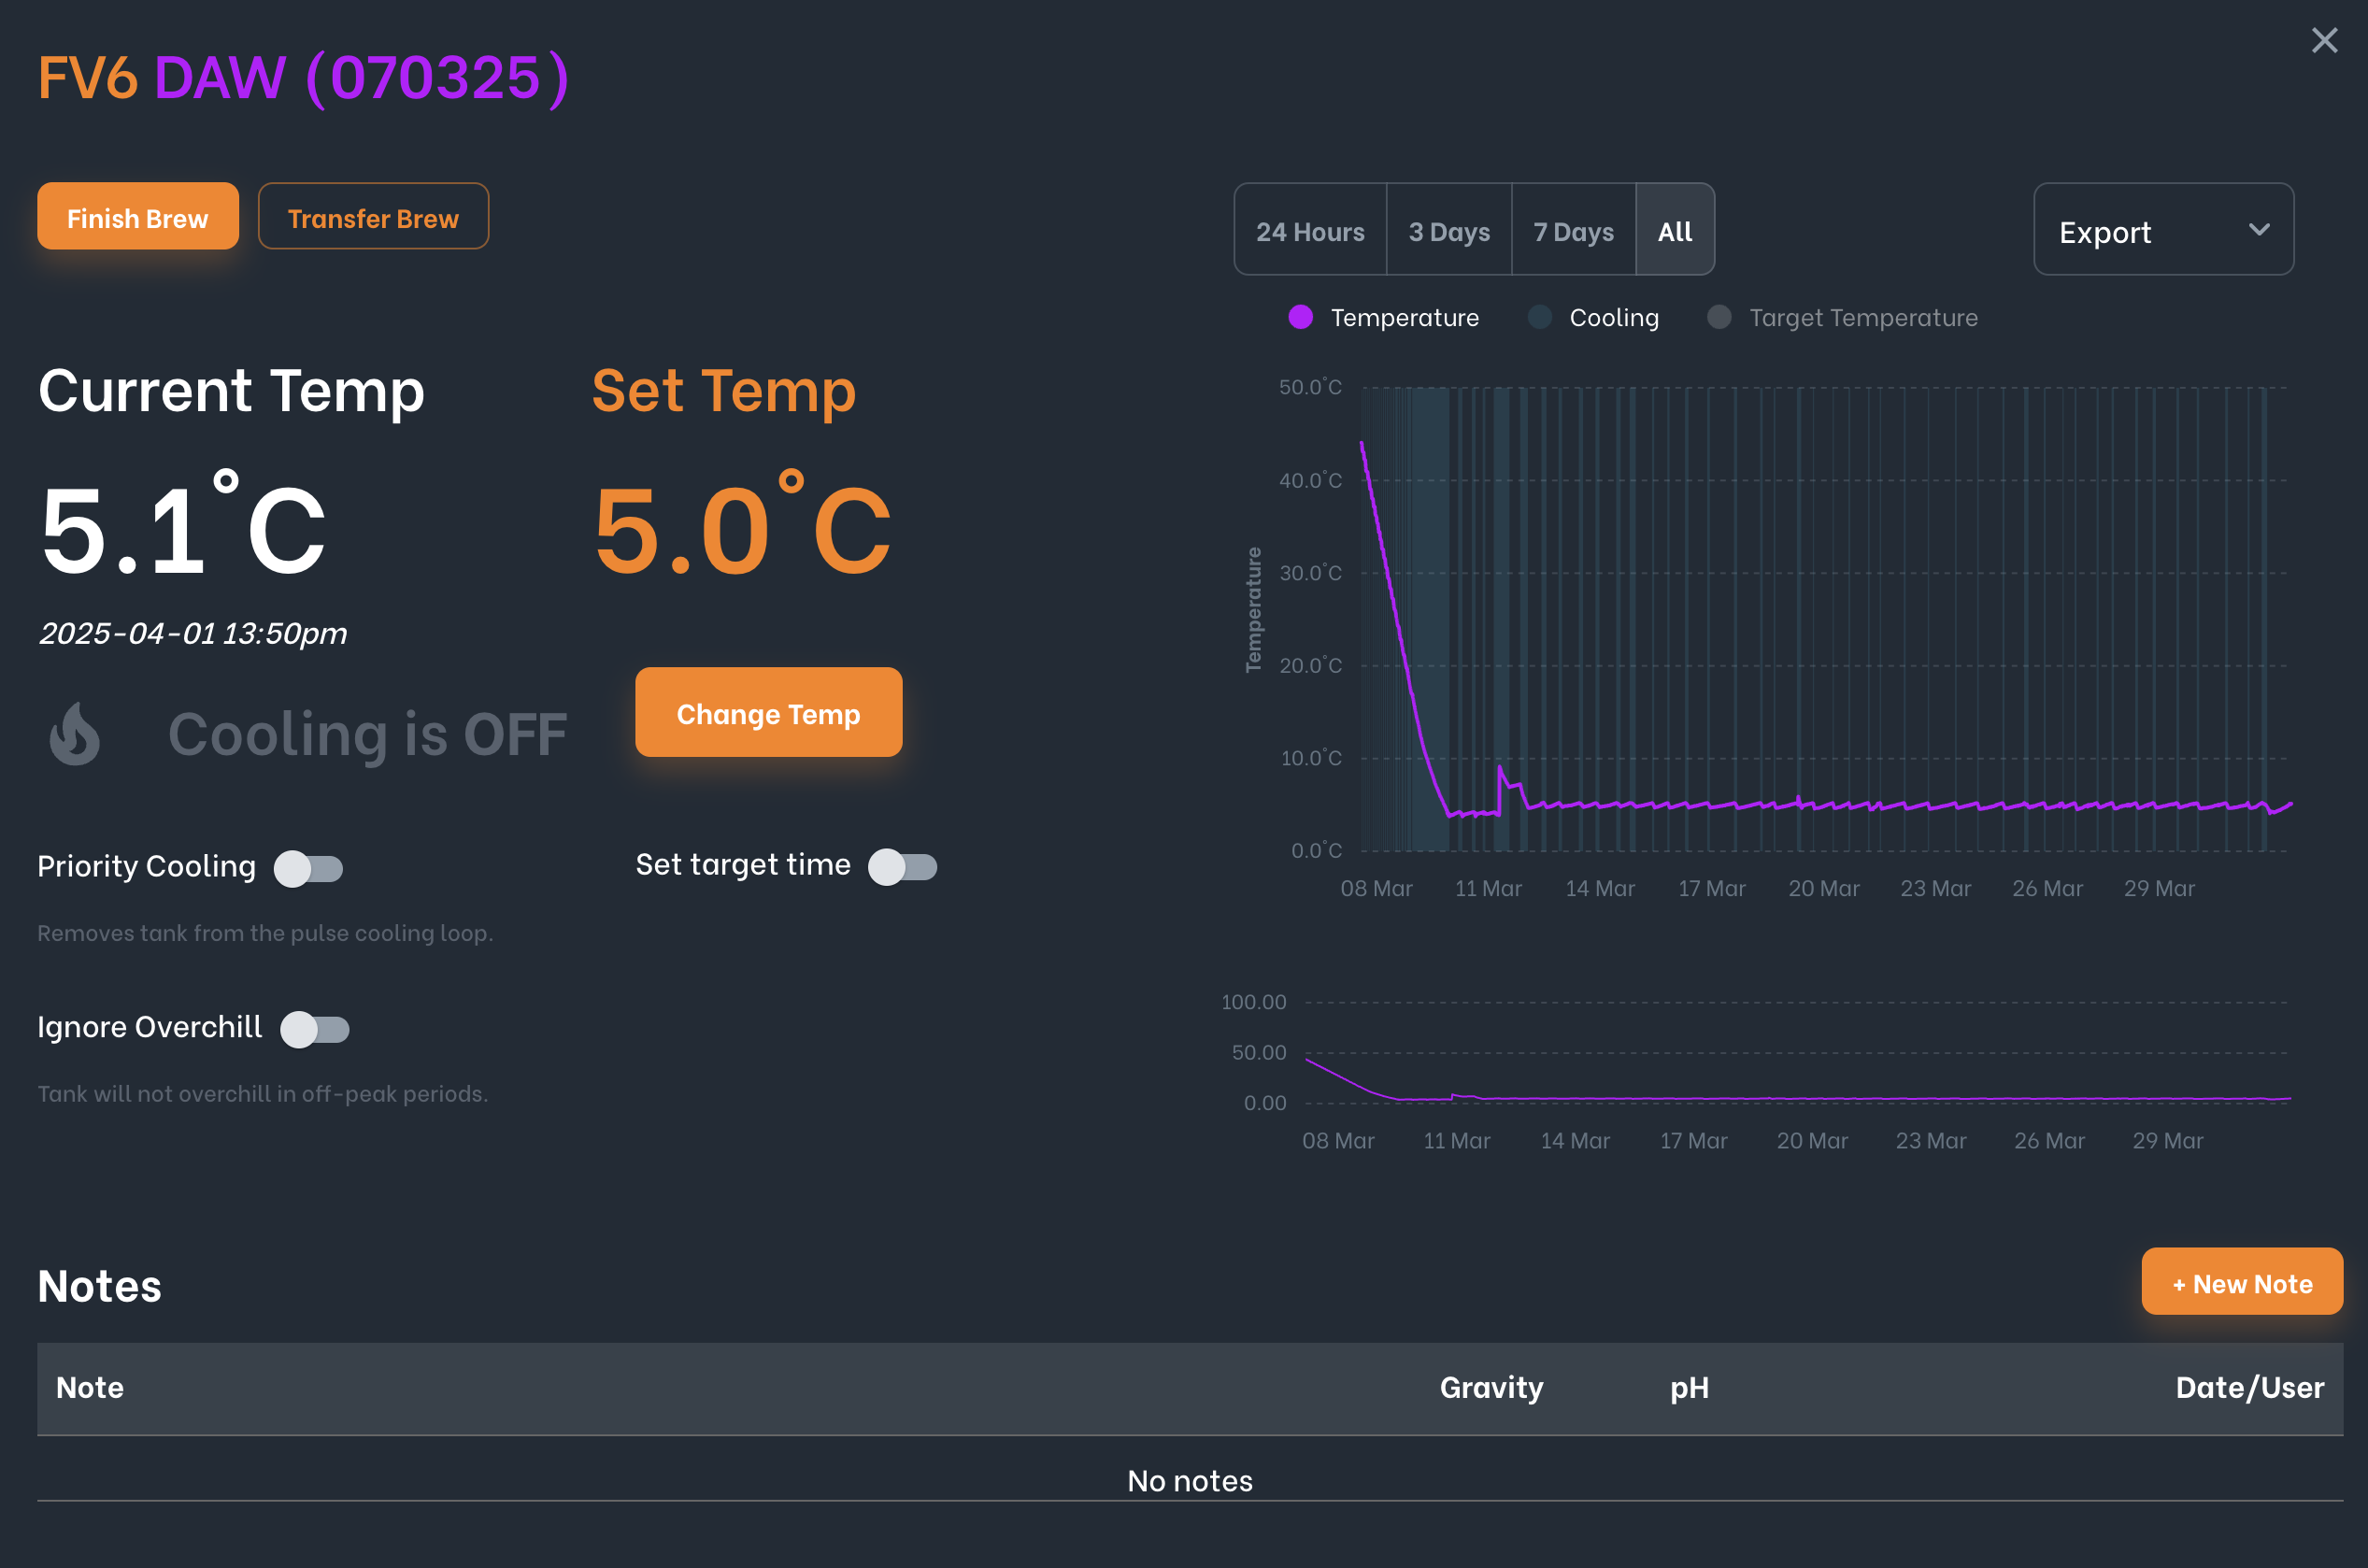
The tank management dialog is where you can change a tank’s setpoint, view insights and record notes and metrics.
Changing a setpoint
To change a setpoint, tap the orange Change Temp button. This will bring up a dialog where you can enter the desired setpoint.
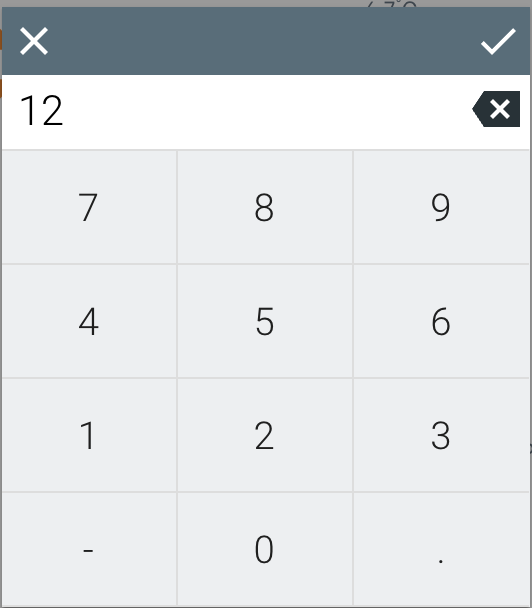
Once you have entered the setpoint, tap the tick button and then be sure to tap the blue Save button to confirm the setpoint change.
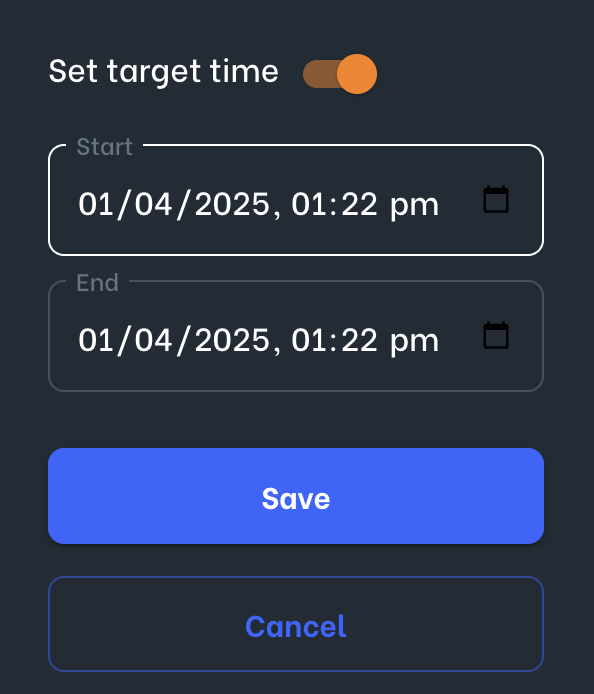
You can use the Set target time switch to set a future date that you would like to reach the setpoint by. Enabling this will result in the setpoint being dynamically stepped down in relation to the end date.

Turing on the Priority Cooling switch will take the tank out of the pulse loop and have glycol continuously flowing to it. This is useful if you are canning or crashing a tank and need it to drop in temperature quickly.

The Ignore Overchill switch is used to ensure a tank isn’t overchilled as part of the emergy saving process. While the overchill thresholds are generally low, you may want to ignore overchill for tanks that have a low ABV.
Taking Notes
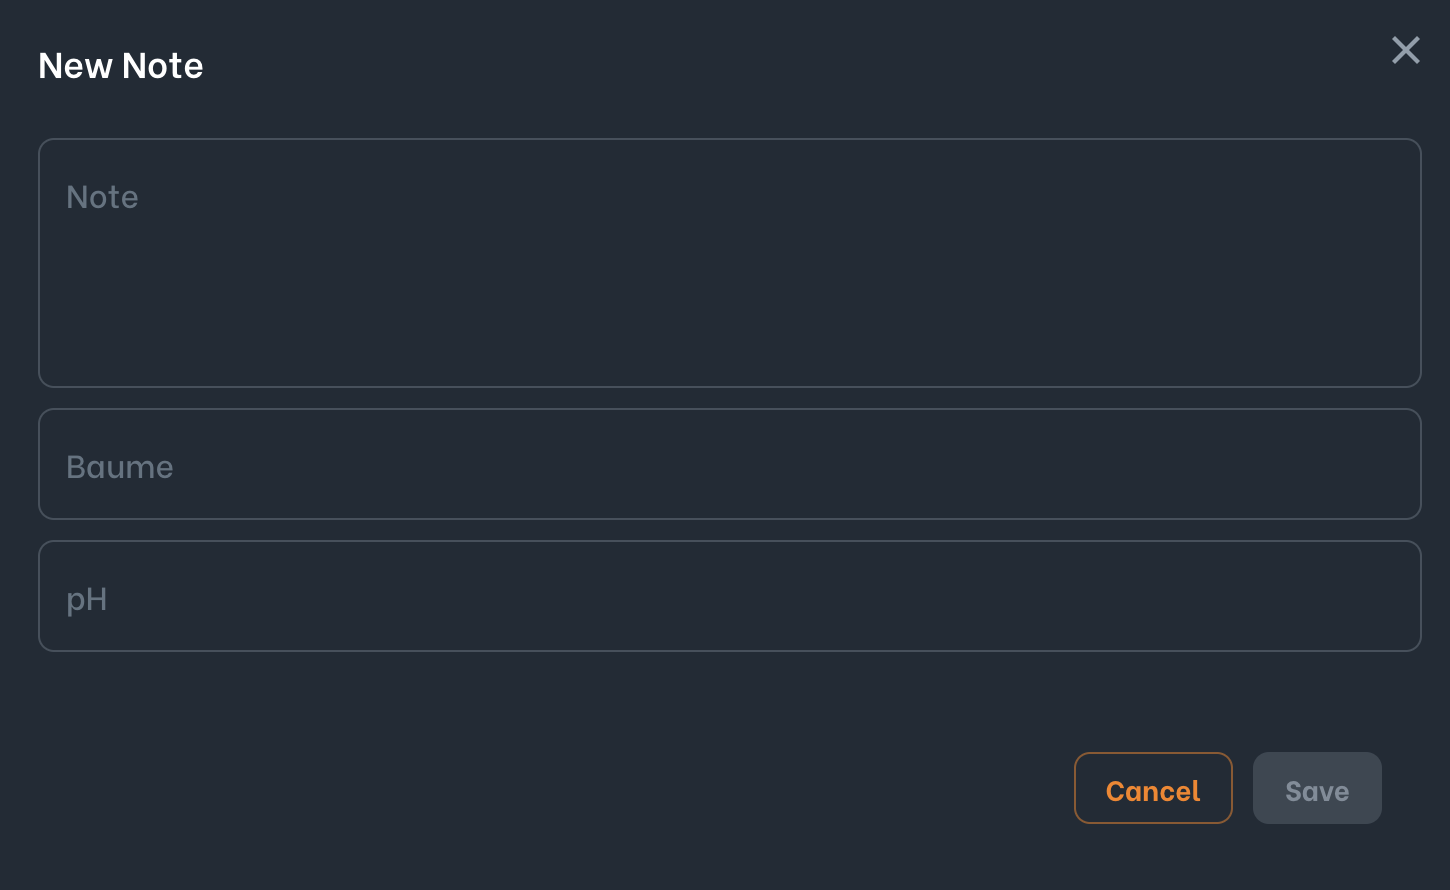
You can record notes, pH and gravity by using the orange + New Note button. This will present a dialog that allows you to take free text notes as well as optionally record gravity and pH. These values will then be graphed along with the temperature.

Use the Export dropdown to export batch data to a CSV file.
Be sure to check out the Integrations tab to see if we can integrate the notes and metrics with your current ERP / data source. If your platform is not listed, reach out and we’ll see if we can integrate it for you.
Templates.
Templates allow you to setup trigger based temperature automation. Templates are managed via the Templates menu item.
Creating a template


To create a template, from the Templates page tap the Create Template button. This will bring up the New Template dialog.
Enter a name for the template and then optionally, create stages for the template by tapping the green Add Stage button.
When adding a stage, give it a name (abbreviations work well here) and then optionally add a setpoint to the stage.
You can then choose a trigger for the stage.
- None – this means you need to manually start the stage by tapping it from the dashboard.
- Timer – this is entered in hours. Once the stage has started, after the timer hours have passed it will automatically move on to the next stage.
- Ramp Timer – this works similar to the Timer trigger however it will aim to reach the setpoint by the end of the stage by stepping it down in a linear fashion rather than trying to hit the setpoint as soon as possile.
- Gravity – here you can enter a gravity threshold and then choose less than or greater than. If a gravity recorded either through the Notes section or an integration falls within the stage threshold then it will automatically move on to th next stge.
Any automated stage changes will also send an email to inform you that the stage has been completed and the tank has automatically progressed to the next stage.

Using a template
To use a template on a batch, tap the blue edit button on an incative tank. This will present a dialog where you can select the template you would like to use.
To start the batch you will need to activate the first stage by tapping it from the dashboard. This will turn the stage from grey to orange. To complete a stage, tap the stage again. This will turn it from orange to purple. You will then need to tap the next stage to activate it.
Stages can only be activated in a linear fashion. If you accidentally complete a stage you can tap it again to cycle through the inactive, active and completed stages.
Trigger based stages will progress automatically.
